three-meshline
在使用 Three.js 绘制线条时,我们常常会遇到“线条总是 1 像素宽”的困扰。Three.js 默认的 THREE.Line 并不支持在 3D 场景中灵活控制线条的宽度,这就使得在某些需求场景中(例如可随相机变化保持可见的线条、较粗的线条表现等)略显不足。
为了解决这一限制,社区中出现了多种方案:
- three-meshline:基于 Three.js 进行“宽线”渲染的辅助库。
- Line2:Three.js 官方后续提供的
Line2相关类,也能实现对宽线的支持。
简单介绍下介绍下 three-meshline,并展示了它如何与 React Three Fiber 相结合来实现 3D 线条效果。借鉴这个库实现的案例,可以将尝试着自己使用 Line2 来实现。
仓库地址
https://github.com/lume/three-meshline (opens in a new tab)
官网案例演示
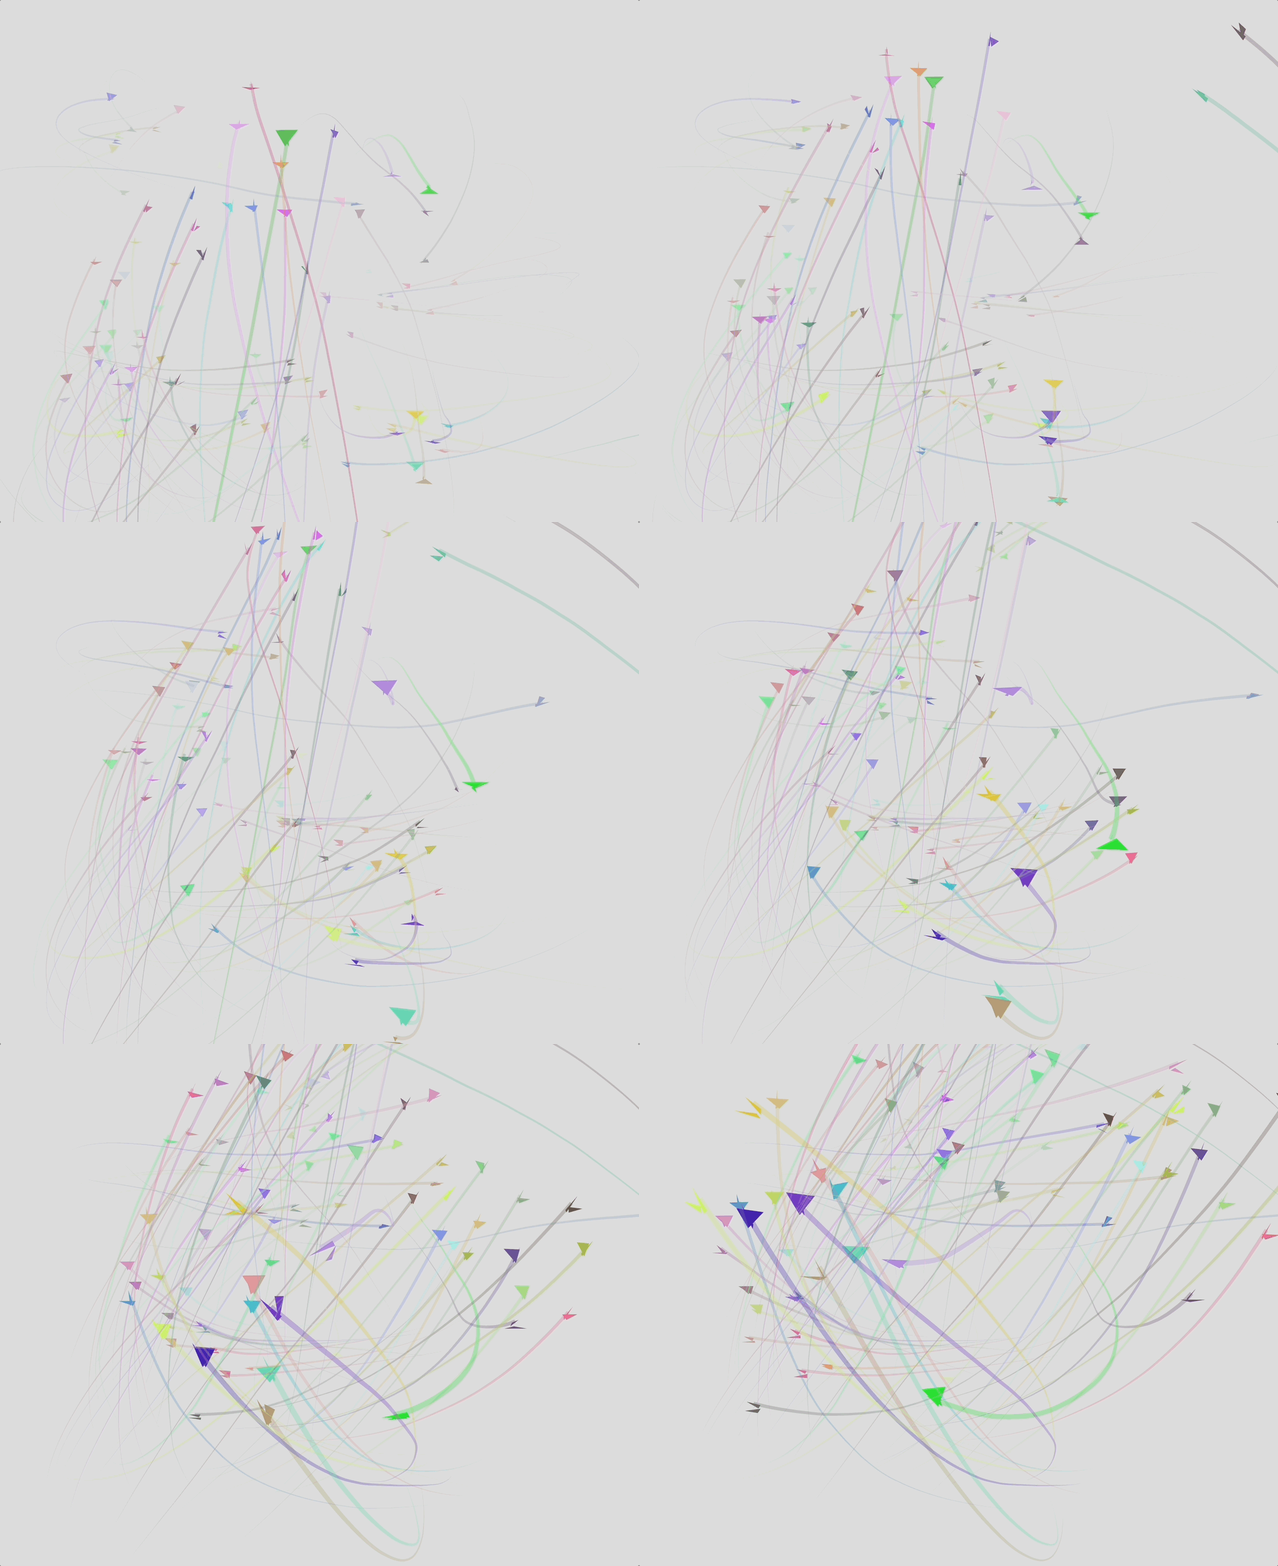
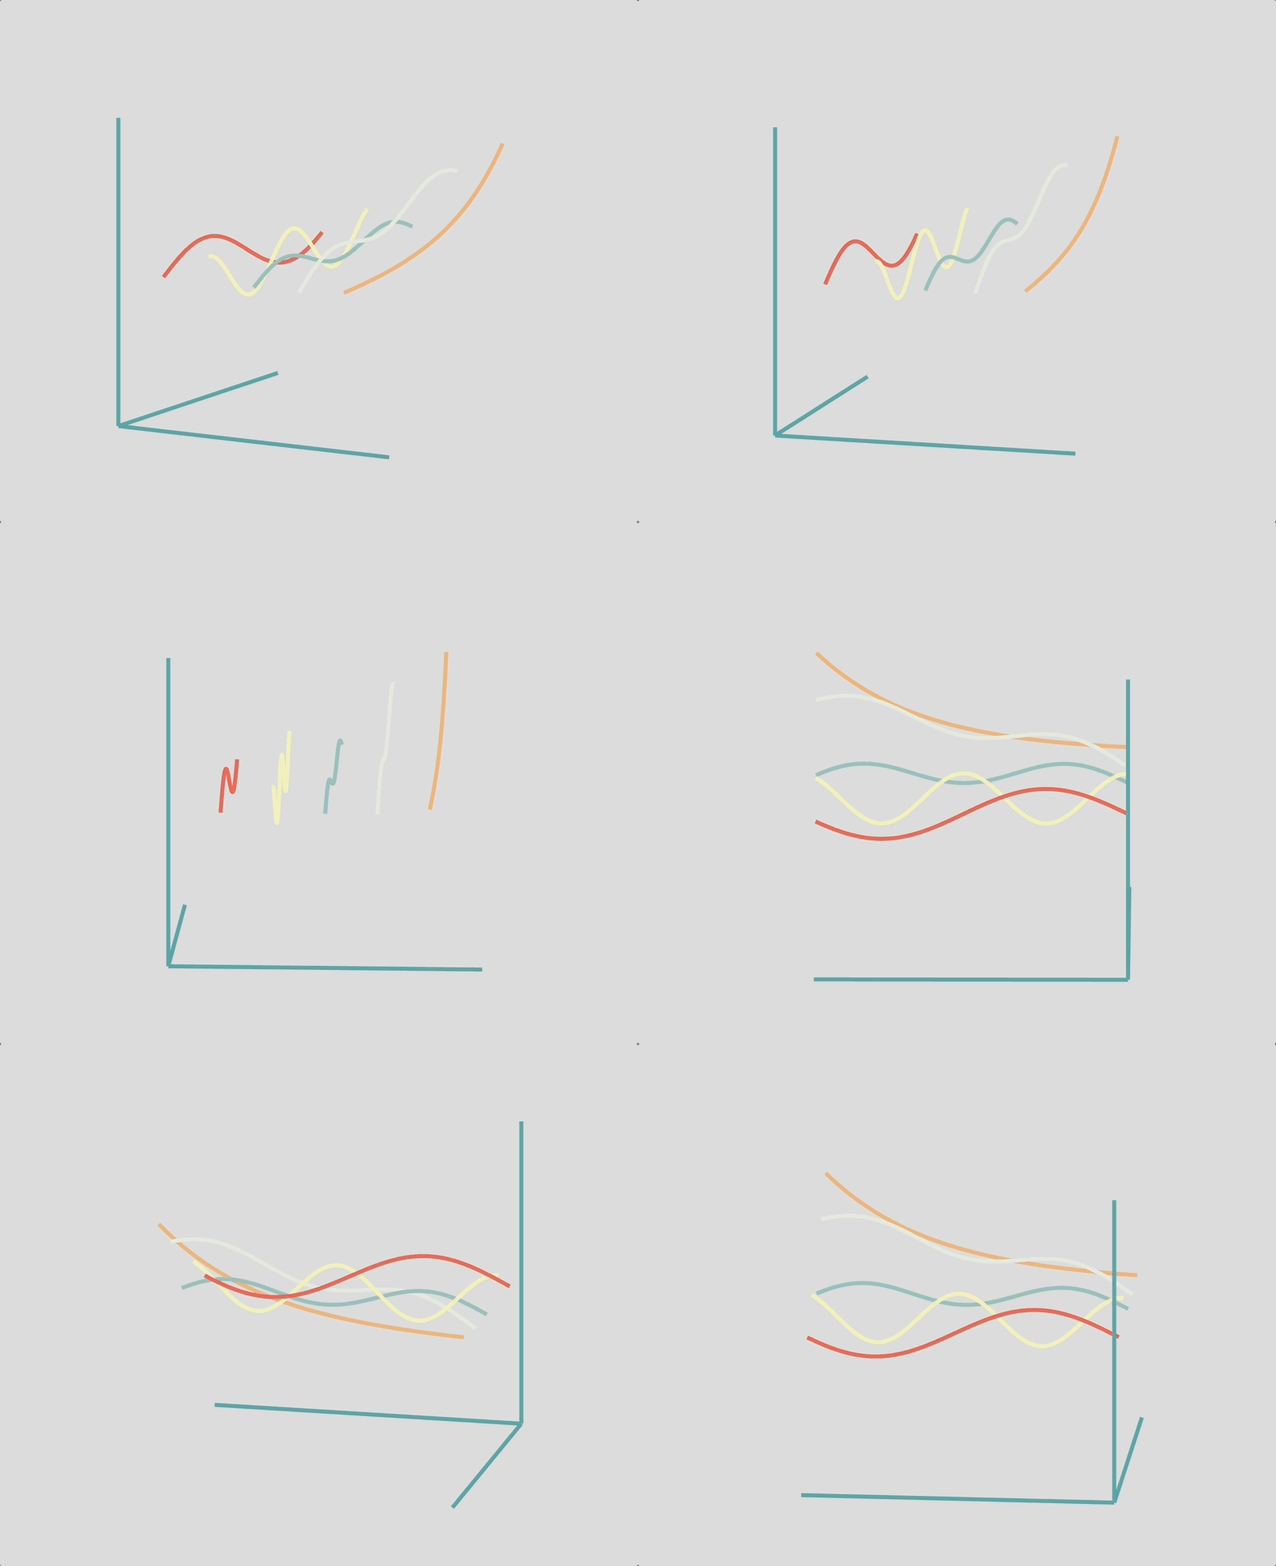
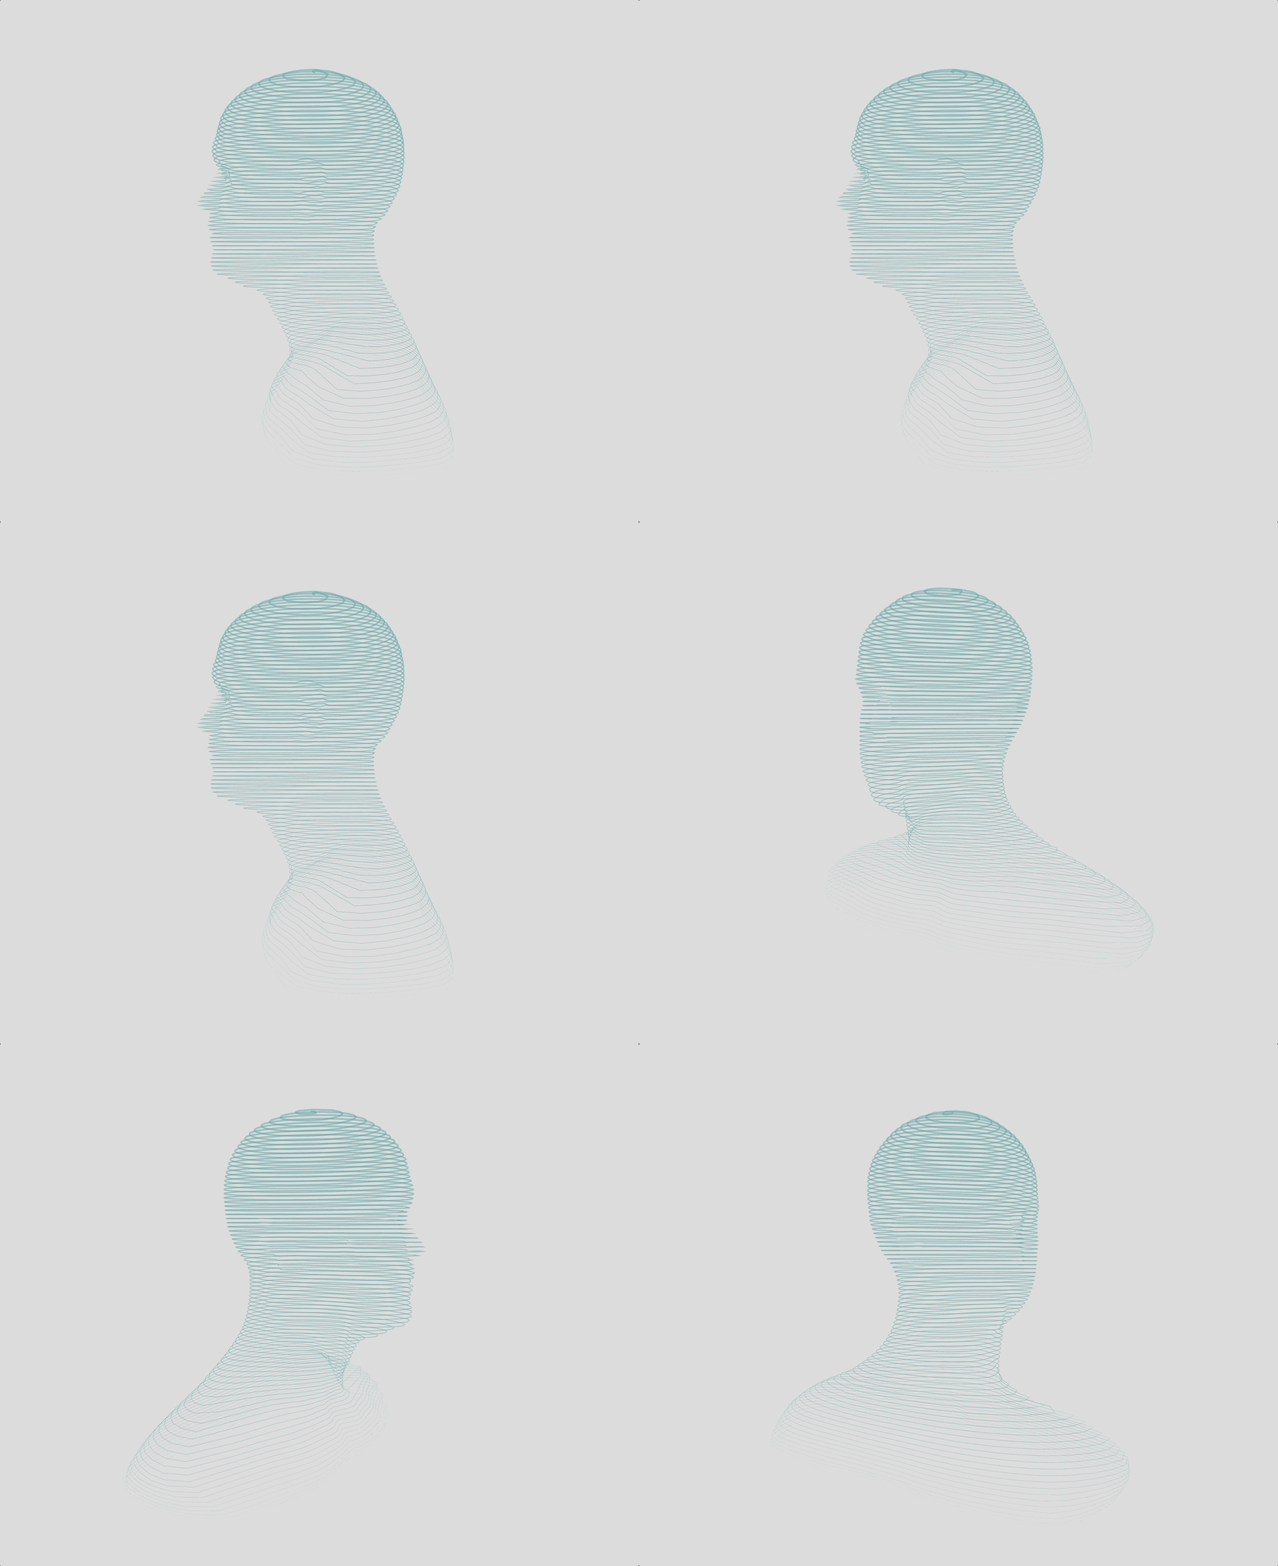
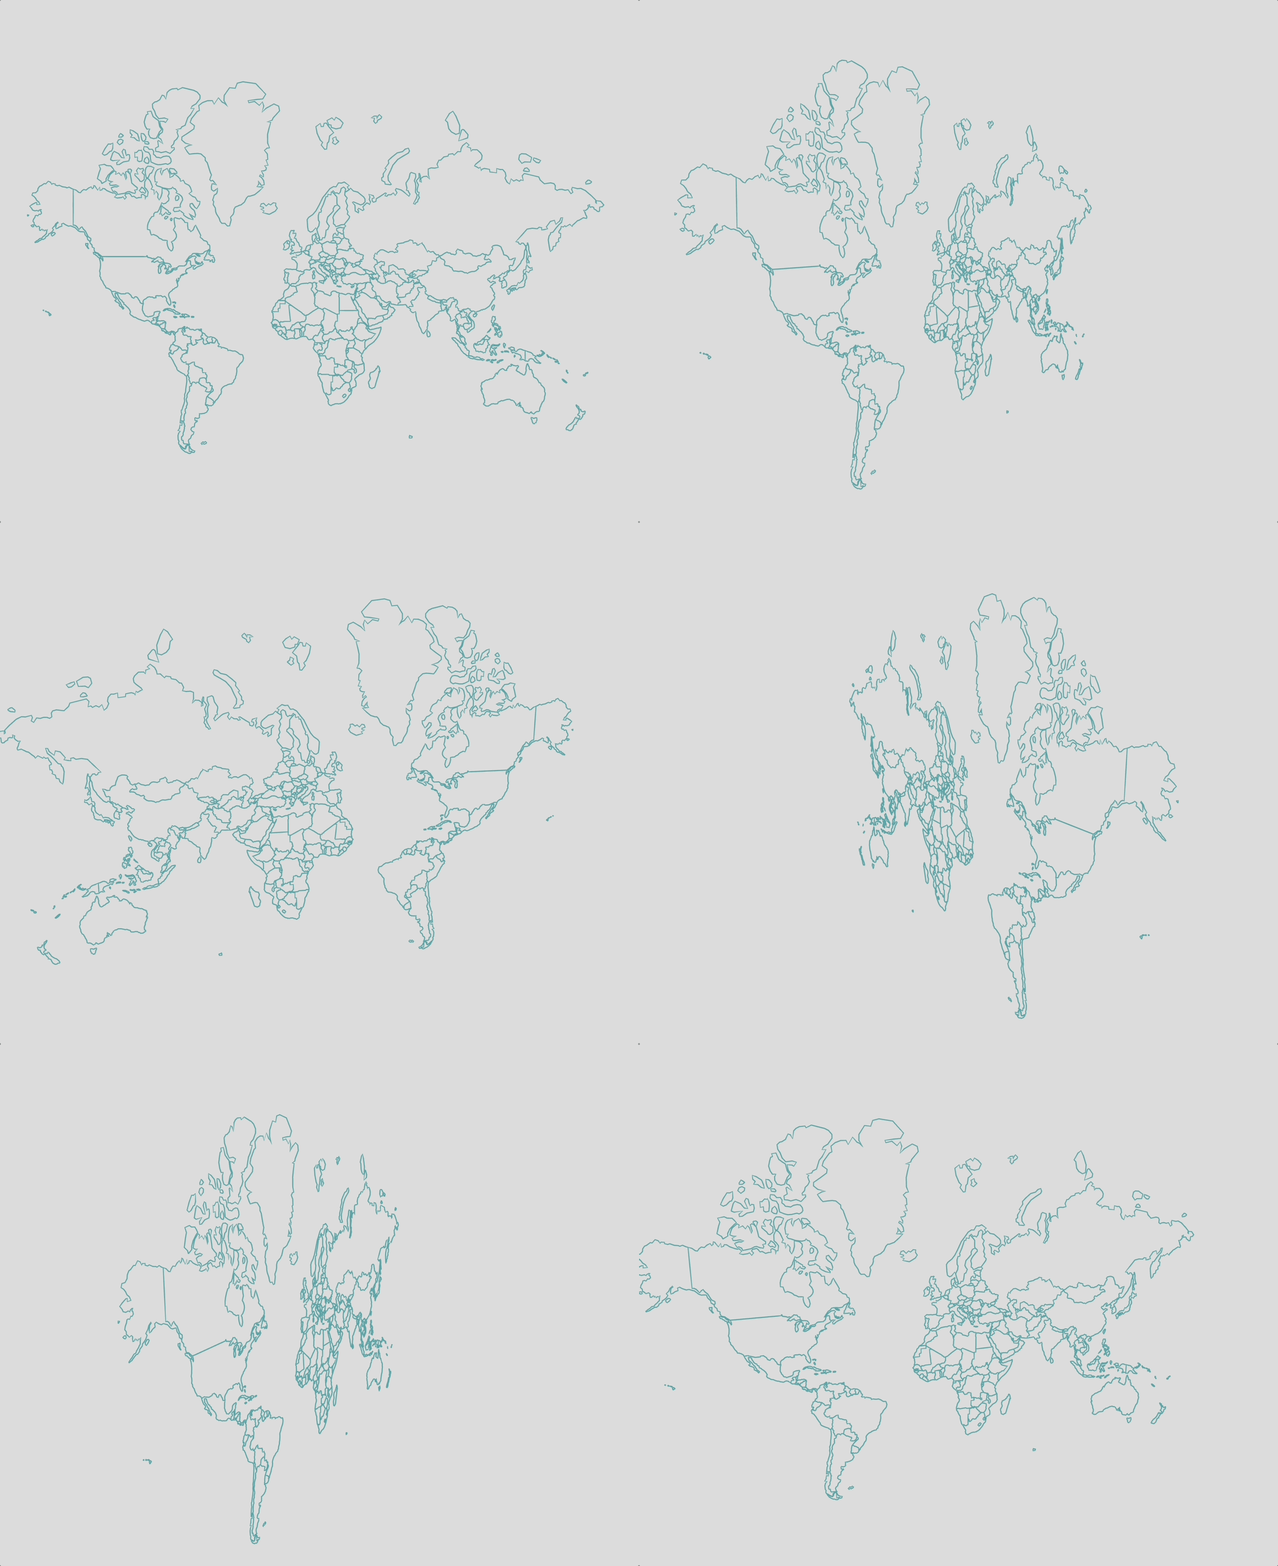
下面是三方库(或其衍生改版)在项目中的一些案例效果
birds
graph
shape
spinner
svg
React Three Fiber 结合
three-meshline 可以很方便地与 React Three Fiber 结合使用。下面是官方示例代码,附带中文注释,展示了如何:
- 生成多条 3D 线条
- 动态控制线条的宽度、颜色、虚线等属性
- 使用 React Hooks 优化性能
- 将后期处理(如 Bloom 泛光效果)应用到线条上
- 通过指针移动,实现相机平滑跟随
示例动图如下:

代码:
// 导入必要的库和组件
import * as THREE from "three"; // 导入Three.js库,用于3D图形渲染
import { useMemo, useRef } from "react"; // 导入React钩子,用于性能优化和引用DOM元素
import { MeshLineGeometry, MeshLineMaterial } from "meshline"; // 导入MeshLine库,用于创建高级线条效果
import { extend, Canvas, useFrame } from "@react-three/fiber"; // 导入React Three Fiber库,用于在React中使用Three.js
import { EffectComposer, Bloom } from "@react-three/postprocessing"; // 导入后期处理效果
import { easing } from "maath"; // 导入缓动函数,用于平滑动画
import { useControls } from "leva"; // 导入控制面板,用于交互式调整参数

// 将MeshLine组件注册到React Three Fiber
extend({ MeshLineGeometry, MeshLineMaterial });

/**
 * Lines组件 - 创建多条3D线条
 * @param {number} dash - 线条的虚线比例
 * @param {number} count - 要创建的线条数量
 * @param {array} colors - 可用颜色数组
 * @param {number} radius - 线条分布的半径范围
 * @param {function} rand - 随机数生成函数,默认使用Three.js的随机浮点数函数
 */
function Lines({ dash, count, colors, radius = 50, rand = THREE.MathUtils.randFloatSpread }) {
  // 使用useMemo优化性能,只有当依赖项改变时才重新计算
  const lines = useMemo(() => {
    // 创建指定数量的线条数组
    return Array.from({ length: count }, () => {
      // 创建一个随机起始位置
      const pos = new THREE.Vector3(rand(radius), rand(radius), rand(radius));
      // 创建10个随机点,每个点都是在前一个点的基础上添加随机偏移
      const points = Array.from({ length: 10 }, () =>
        pos.add(new THREE.Vector3(rand(radius), rand(radius), rand(radius))).clone()
      );
      // 使用CatmullRom曲线算法创建平滑的曲线,并获取300个点
      const curve = new THREE.CatmullRomCurve3(points).getPoints(300);
      // 返回线条的属性
      return {
        color: colors[parseInt(colors.length * Math.random())], // 随机选择一种颜色
        width: Math.max(radius / 100, (radius / 50) * Math.random()), // 计算线条宽度
        speed: Math.max(0.1, 1 * Math.random()), // 计算线条动画速度
        curve: curve.flatMap((point) => point.toArray()), // 将曲线点转换为一维数组
      };
    });
  }, [colors, count, radius]); // 依赖项:颜色、数量和半径

  // 为每条线渲染一个Fatline组件
  return lines.map((props, index) => <Fatline key={index} dash={dash} {...props} />);
}

/**
 * Fatline组件 - 渲染单条线
 * @param {array} curve - 线条的点坐标数组
 * @param {number} width - 线条宽度
 * @param {string|array} color - 线条颜色
 * @param {number} speed - 动画速度
 * @param {number} dash - 虚线比例
 */
function Fatline({ curve, width, color, speed, dash }) {
  const ref = useRef(); // 创建对mesh的引用

  // 每帧更新线条的虚线偏移,创建动画效果
  useFrame((state, delta) => (ref.current.material.dashOffset -= (delta * speed) / 10));

  return (
    <mesh ref={ref}>
      {/* 使用曲线点创建线条几何体 */}
      <meshLineGeometry points={curve} />
      {/* 设置线条材质属性 */}
      <meshLineMaterial
        transparent // 启用透明度
        lineWidth={width} // 设置线宽
        color={color} // 设置颜色
        depthWrite={false} // 禁用深度写入,避免z-fighting问题
        dashArray={0.25} // 虚线的间隔长度
        dashRatio={dash} // 虚线的比例
        toneMapped={false} // 禁用色调映射,保持颜色鲜艳
      />
    </mesh>
  );
}

/**
 * Rig组件 - 控制相机移动,实现交互式视角
 * @param {number} radius - 相机移动的半径
 */
function Rig({ radius = 20 }) {
  // 每帧更新相机位置,根据鼠标位置调整视角
  useFrame((state, dt) => {
    // 使用缓动函数平滑地更新相机位置
    easing.damp3(
      state.camera.position, // 目标:相机位置
      [
        Math.sin(state.pointer.x) * radius, // X坐标:基于鼠标X位置的正弦函数
        Math.atan(state.pointer.y) * radius, // Y坐标:基于鼠标Y位置的反正切函数
        Math.cos(state.pointer.x) * radius, // Z坐标:基于鼠标X位置的余弦函数
      ],
      0.25, // 缓动系数,值越小移动越平滑
      dt // 时间增量
    );
    // 确保相机始终看向场景中心
    state.camera.lookAt(0, 0, 0);
  });
}

/**
 * App组件 - 主应用组件
 * 创建3D场景并设置交互控制
 */
export default function App() {
  // 使用Leva库创建交互式控制面板
  const { dash, count, radius } = useControls({
    dash: { value: 0.9, min: 0, max: 0.99, step: 0.01 }, // 虚线比例滑块
    count: { value: 50, min: 0, max: 200, step: 1 }, // 线条数量滑块
    radius: { value: 50, min: 1, max: 100, step: 1 }, // 半径范围滑块
  });

  return (
    // 创建全屏容器
    <div style={{ width: "100vw", height: "100vh" }}>
      {/* 创建3D画布,设置相机初始位置和视场角 */}
      <Canvas camera={{ position: [0, 0, 5], fov: 90 }}>
        {/* 设置背景颜色为深蓝色 */}
        <color attach="background" args={["#101020"]} />
        {/* 添加线条组件,传入控制面板的参数和颜色数组 */}
        <Lines
          dash={dash}
          count={count}
          radius={radius}
          colors={[
            [10, 0.5, 2], // 紫红色
            [1, 2, 10], // 蓝色
            "#A2CCB6", // 淡绿色
            "#FCEEB5", // 淡黄色
            "#EE786E", // 粉红色
            "#e0feff", // 淡蓝色
          ]}
        />
        {/* 添加相机控制组件 */}
        <Rig />
        {/* 添加后期处理效果 */}
        <EffectComposer>
          {/* 添加泛光效果,使亮部发光 */}
          <Bloom mipmapBlur luminanceThreshold={1} radius={0.6} />
        </EffectComposer>
      </Canvas>
    </div>
  );
}
结语
- three-meshline:适用于需要快速绘制较粗的线条,同时对性能、实现细节有所考量的场景。它在社区沉淀已久,适配到 React Three Fiber 也非常容易。
- Line2:若追求与最新版本的 Three.js 生态深度结合,或需要官方后续维护,可尝试查看 Line2 实现。