Three.js 的辅助对象
在 Three.js 中,辅助对象(Helpers)是非常有用的工具,它们帮助开发者在调试 3D 场景时更直观地理解对象的布局、方向和空间关系。本文将介绍 Three.js 提供的几种主要辅助对象,并演示它们的使用方式。
辅助对象是 Three.js 提供的一些用于可视化 3D 场景元素的工具。它们通常不会在最终渲染的场景中出现,而是作为开发和调试的参考。
这篇文章,我们来介绍下 ArrowHelper 、AxesHelper 、BoxHelper 、Box3Helper、CameraHelper。
ArrowHelper
用于在 3D 场景中显示一个箭头,通常用于可视化方向向量,帮助调试坐标方向、法线、速度向量等。

import * as THREE from "three";
// 创建场景
const scene = new THREE.Scene();
// 定义箭头的方向(必须归一化)
const direction = new THREE.Vector3(1, 1, 0).normalize();
// 定义箭头的起点
const origin = new THREE.Vector3(0, 0, 0);
// 定义箭头长度
const length = 2;
// 定义箭头颜色
const color = 0xffff00; // 黄色
// 创建箭头助手
const arrowHelper = new THREE.ArrowHelper(direction, origin, length, color);
// 添加到场景
scene.add(arrowHelper);
参数
ArrowHelper(dir : Vector3 (opens in a new tab), origin : Vector3 (opens in a new tab), length : Number, hex : Number, headLength : Number, headWidth : Number )
- dir: 基于箭头原点的方向. 必须为单位向量.
- origin: 箭头的原点.
- length: 箭头的长度. 默认为 1.
- hex: 定义的 16 进制颜色值. 默认为 0xffff00.
- headLengt: 箭头头部的长度,默认值为
0.2 * length - headWidth : 箭头头部的宽度,默认值为
0.2 * headLength
AxesHelper
AxesHelper 用于在 3D 场景中可视化坐标轴,帮助开发者更直观地理解物体的方向和旋转状态。通常用于调试 Three.js 场景中的坐标系。
红色代表 X 轴. 绿色代表 Y 轴. 蓝色代表 Z 轴.
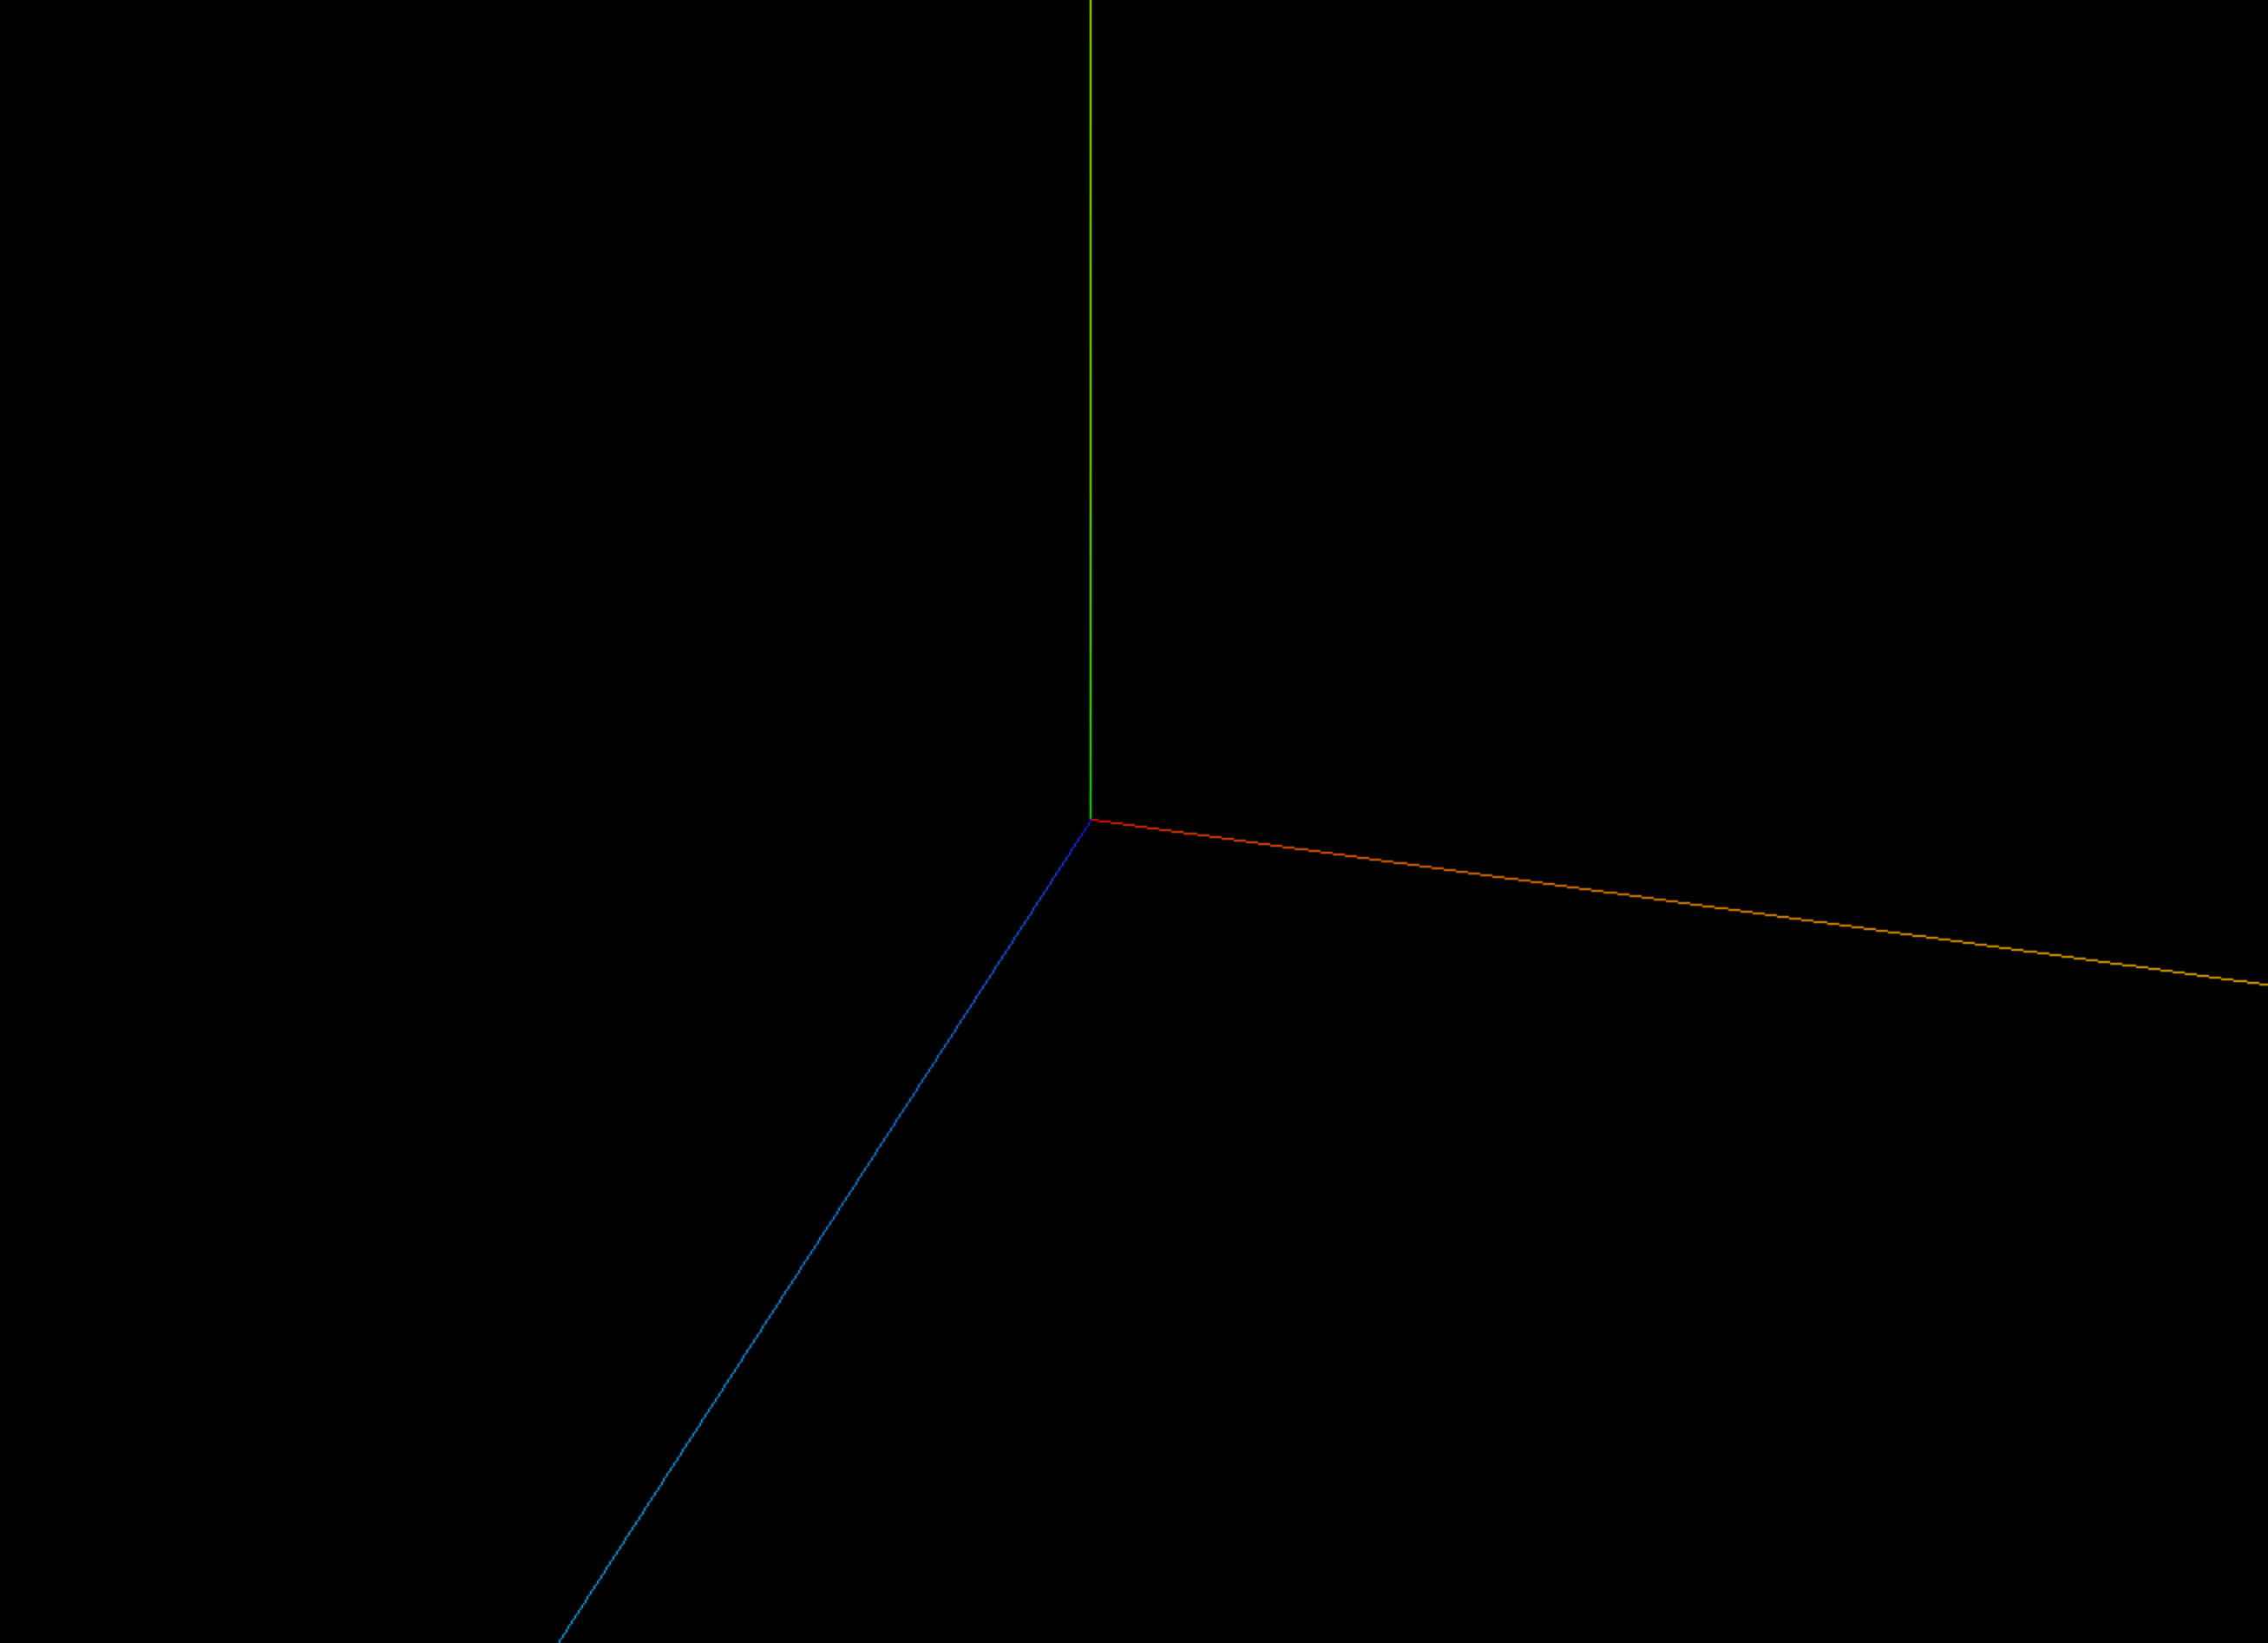
const axesHelper = new THREE.AxesHelper(5);
scene.add(axesHelper);
参数
AxesHelper( size : Number )
- size: (可选的) 表示代表轴的线段长度. 默认为
1.
BoxHelper
BoxHelper 用于在 3D 场景中可视化物体的包围盒 (Bounding Box),通常用于调试和检测物体的边界。
// 创建 BoxHelper,并添加到场景
const boxHelper = new THREE.BoxHelper(cube, 0xff0000); // 红色边框
scene.add(boxHelper);
参数
BoxHelper( object : Object3D (opens in a new tab), color : Color (opens in a new tab) )
- object: (可选的) 被展示世界轴心对齐的包围盒的对象.
- color :(可选的) 线框盒子的 16 进制颜色值. 默认为 0xffff00.
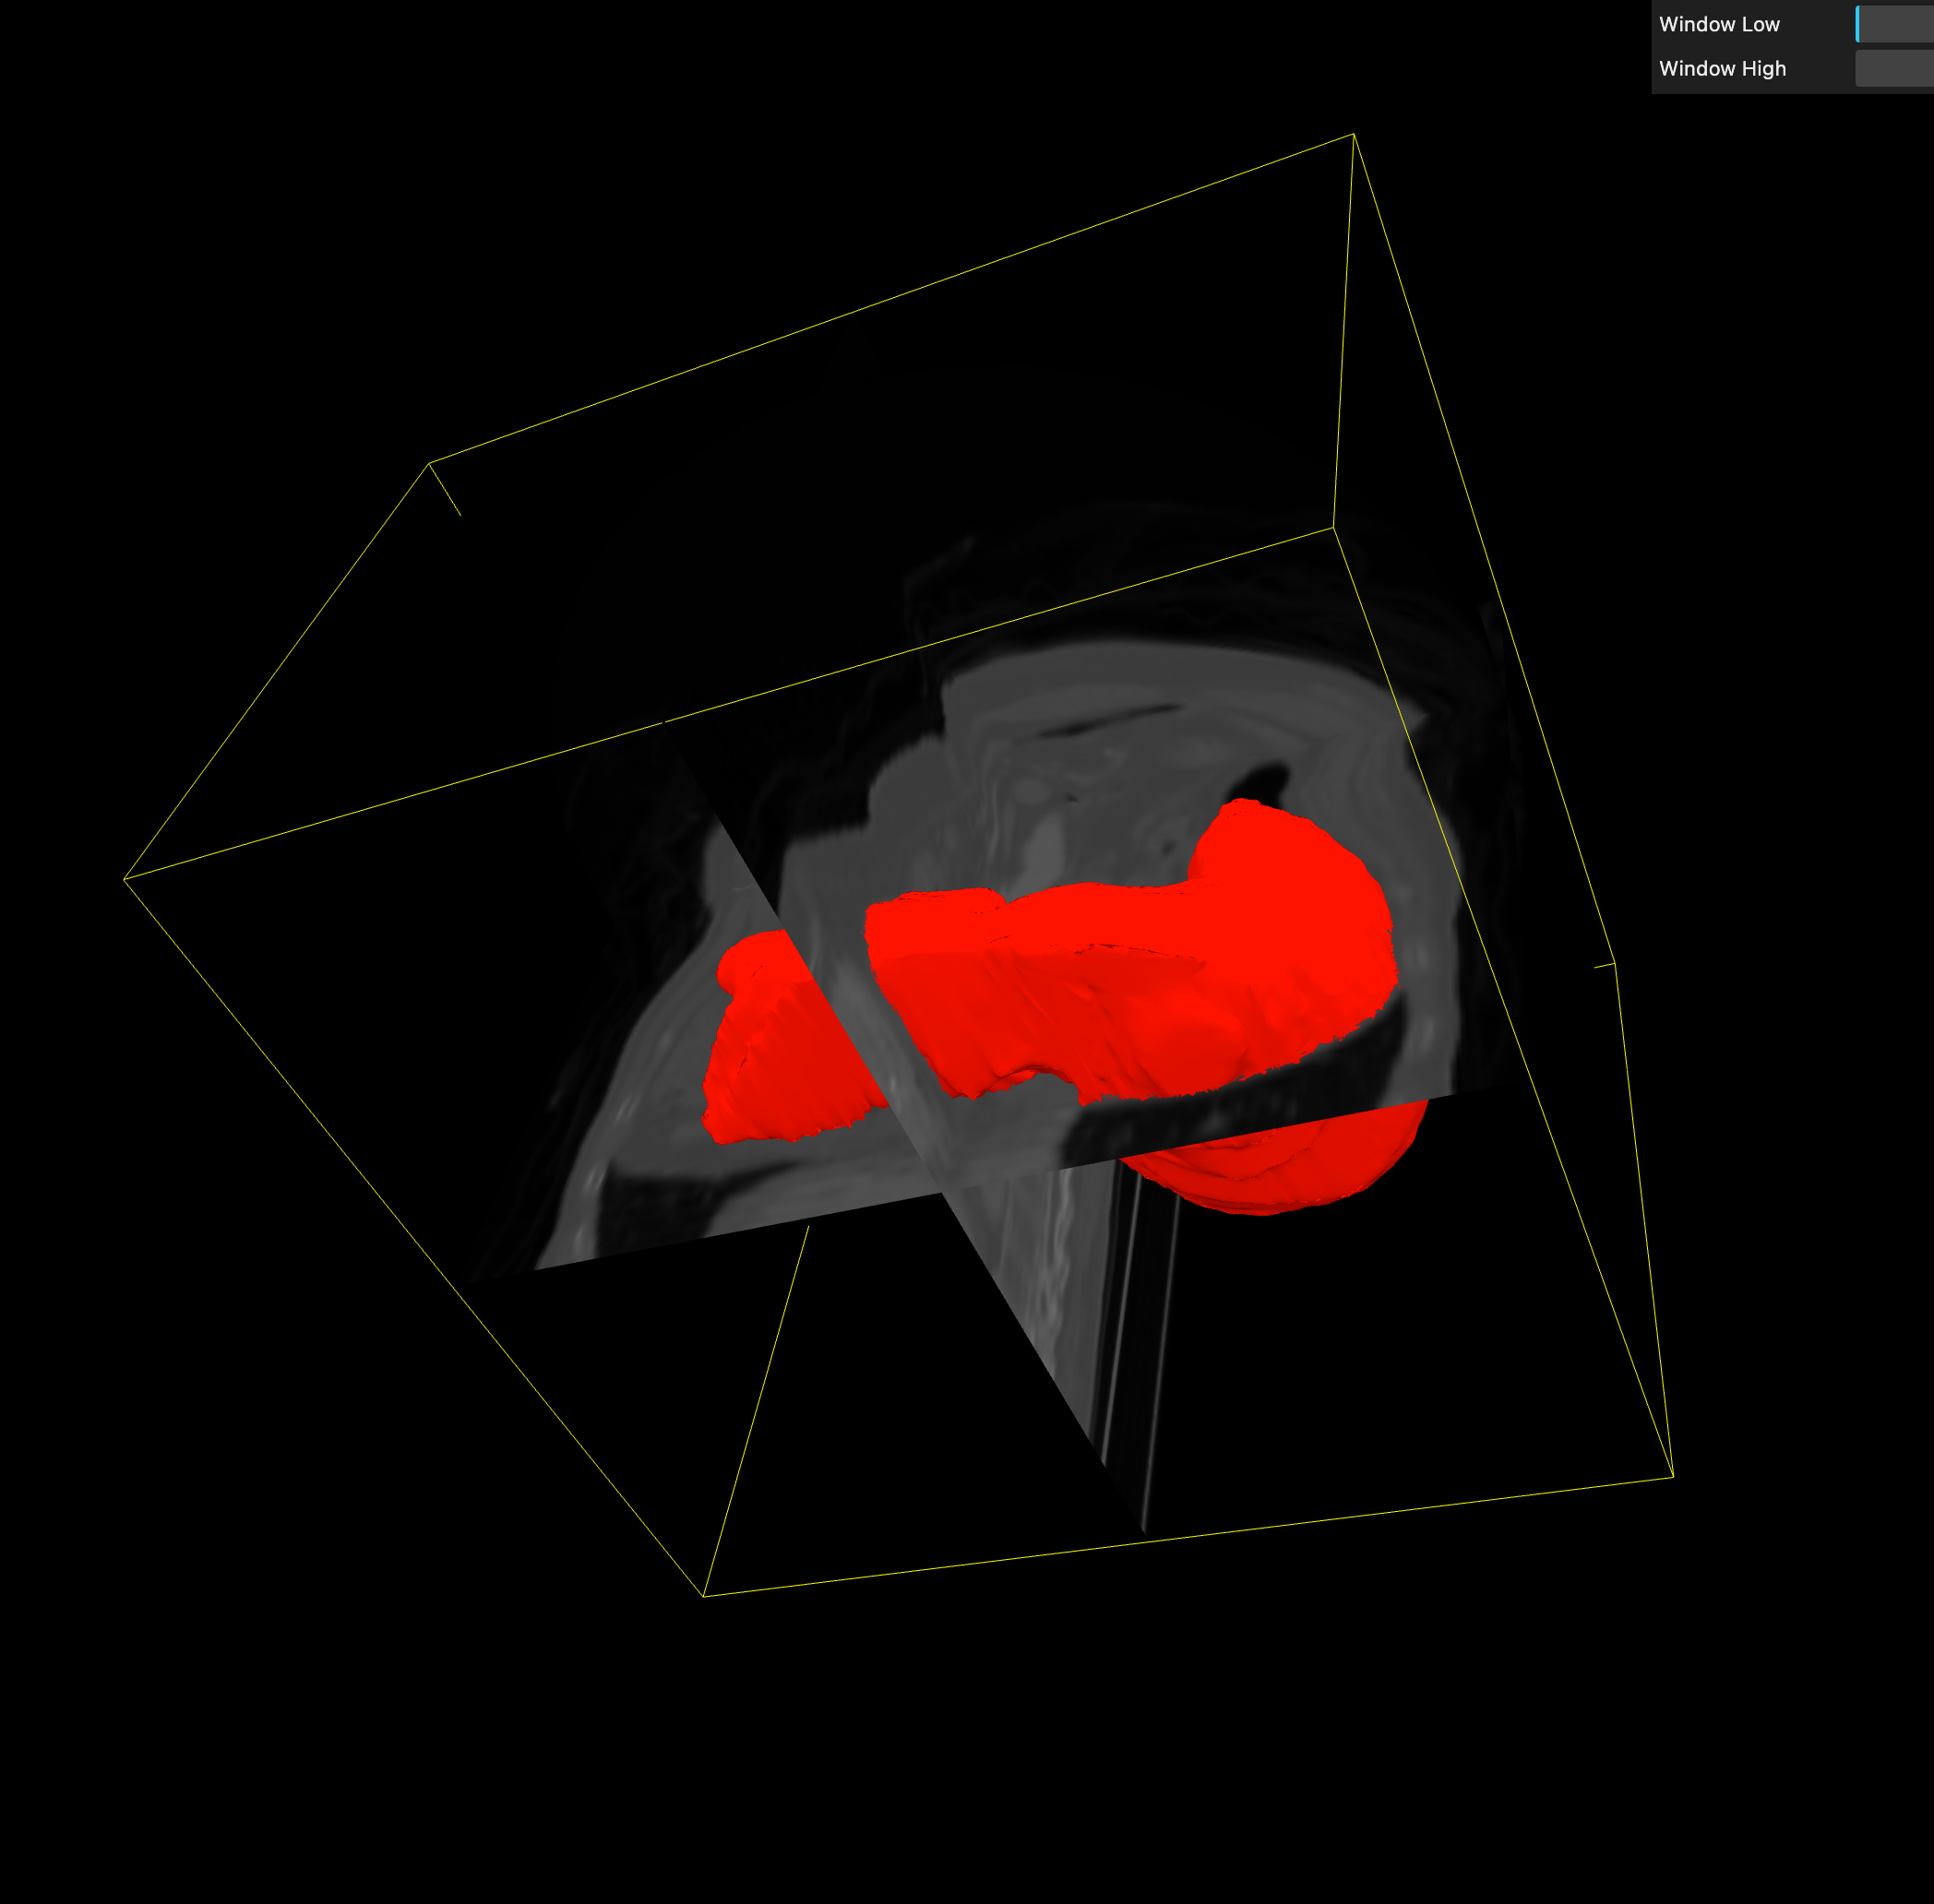
Box3Helper
Box3Helper 用于可视化 Box3(轴对齐包围盒,AABB,Axis-Aligned Bounding Box)。
通常用于调试模型边界、碰撞检测、计算物体包围范围等场景。
BoxHelper 适用于单个 Mesh 或 Group,会自动计算物体的包围盒,但不会用于碰撞检测;而 Box3Helper 适用于手动定义 Box3 包围盒,可以计算多个对象的整体边界,并支持碰撞检测。若需简单可视化 Mesh 的边界,用 BoxHelper;若需手动设定范围或合并多个物体的边界,用 Box3Helper。
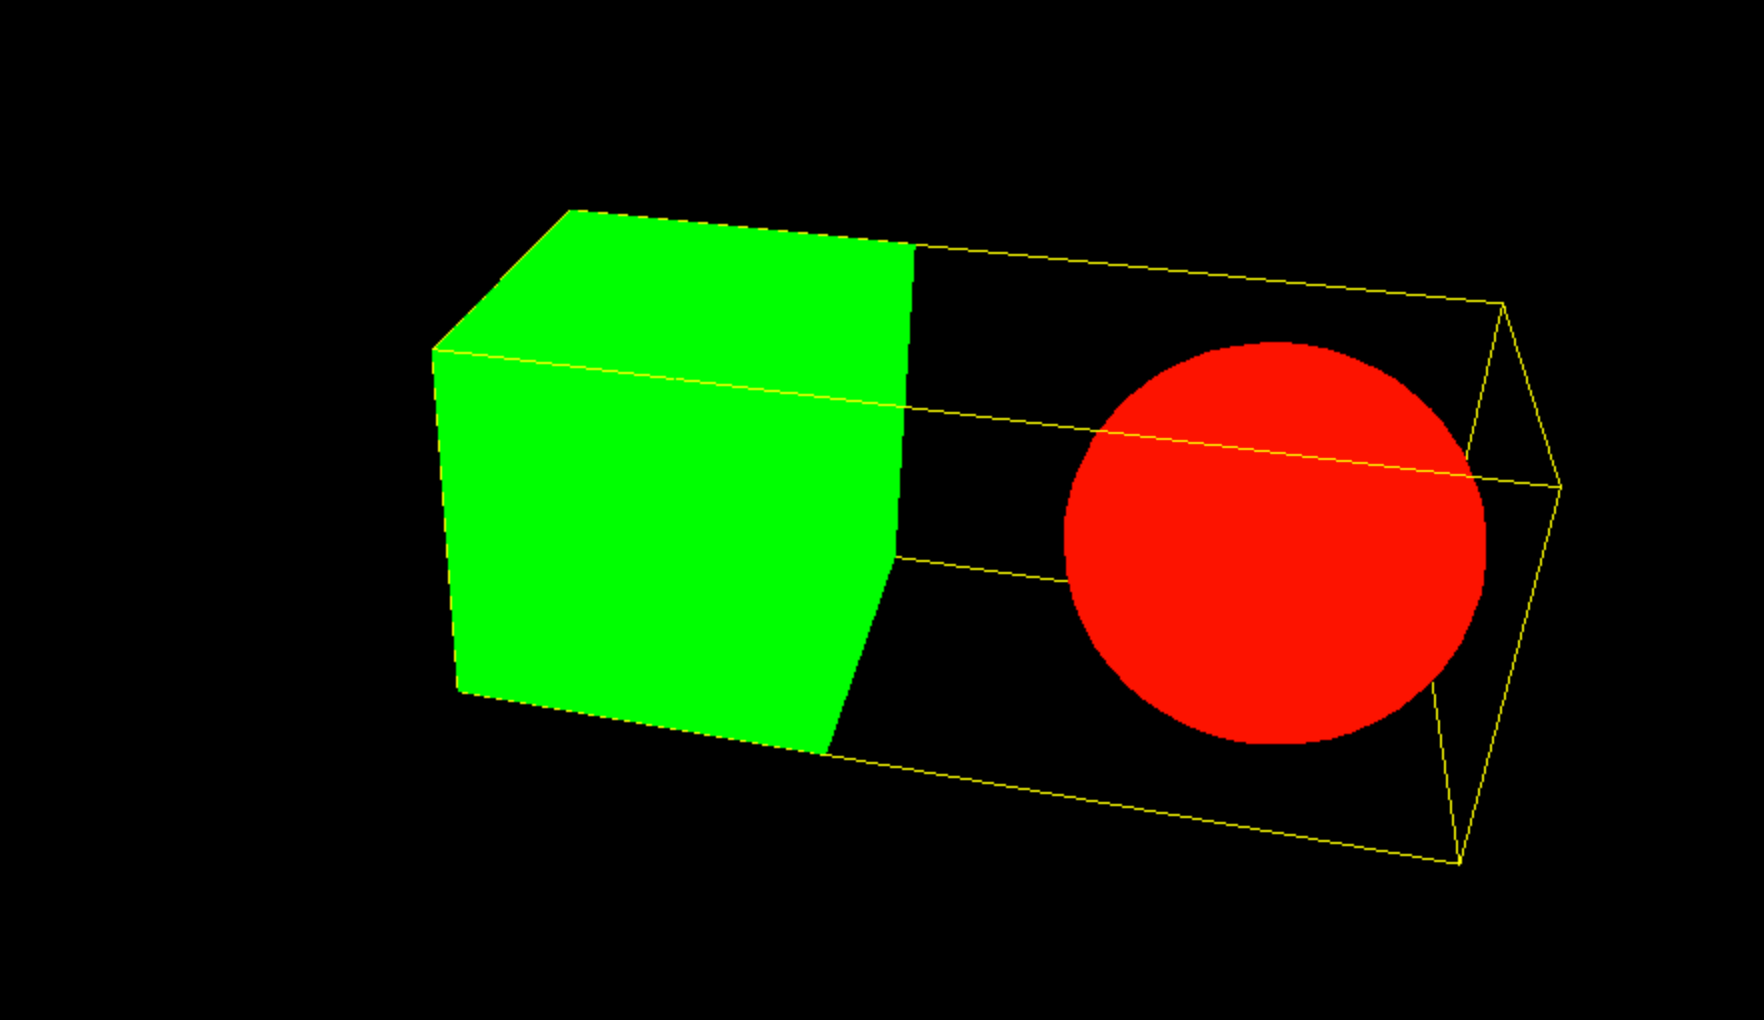
// 创建立方体
const group = new THREE.Group();

// 立方体
const cube = new THREE.Mesh(new THREE.BoxGeometry(2, 2, 2), new THREE.MeshBasicMaterial({ color: 0x00ff00 }));
group.add(cube);

// 球体
const sphere = new THREE.Mesh(new THREE.SphereGeometry(1), new THREE.MeshBasicMaterial({ color: 0xff0000 }));
sphere.position.set(3, 0, 0); // 移动球体
group.add(sphere);

// 计算整个 Group 的包围盒
const groupBox = new THREE.Box3().setFromObject(group);
const box3Helper = new THREE.Box3Helper(groupBox, 0xffff00);
scene.add(box3Helper);
scene.add(group);
参数
Box3Helper( box : Box3 (opens in a new tab), color : Color (opens in a new tab) )
- box:被模拟的 3 维包围盒.
- color: (可选的) 线框盒子的颜色. 默认为 0xffff00.
CameraHelper
CameraHelper 会在 3D 场景中绘制摄像机的视锥体,用来表示摄像机的视野范围和近平面、远平面等信息。
适用于:
- 调试相机位置、方向
- 查看相机视锥体是否正确覆盖目标
- 检查
shadowCamera(阴影相机)是否对物体完全照射
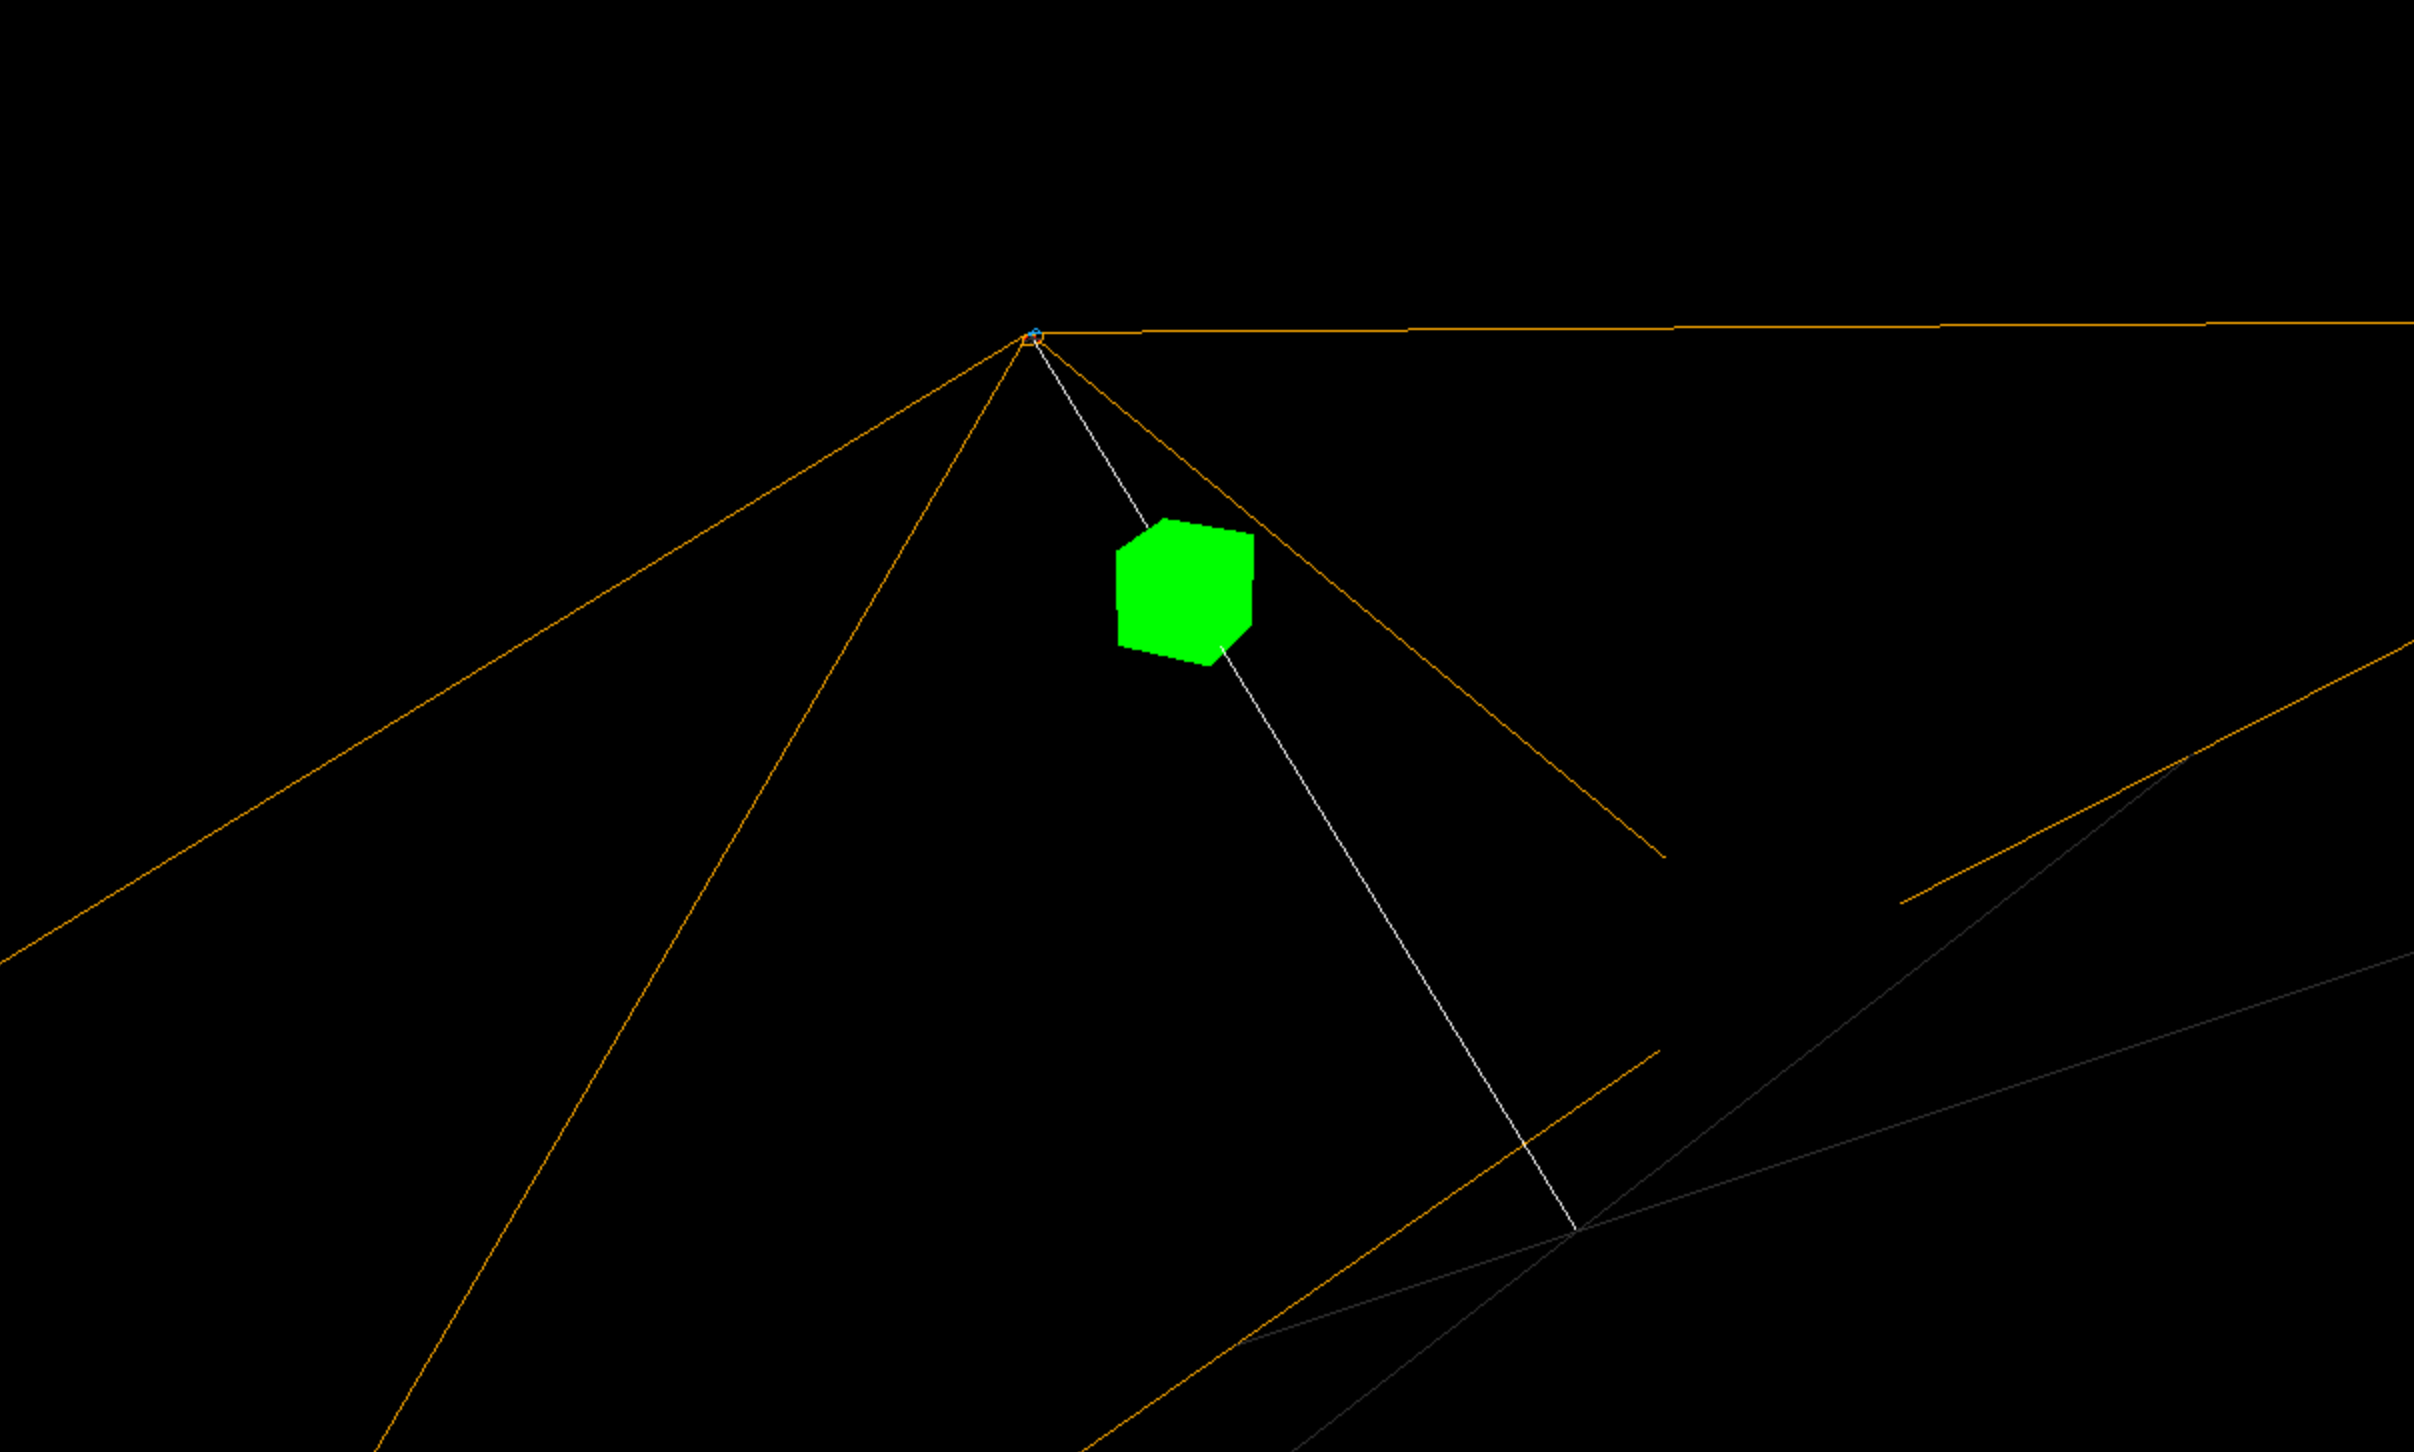
为了演示效果,我们需要创建两个摄像机,一个用来创建 helper,一个用来观察 helper。
- 创建
mainCamera作为观察相机 - 让
targetCamera旋转移动 - 添加
cube作为参考物体
import * as THREE from "three";

// 创建渲染器
const renderer = new THREE.WebGLRenderer();
renderer.setSize(window.innerWidth, window.innerHeight);
document.body.appendChild(renderer.domElement);

// 创建场景
const scene = new THREE.Scene();

//  创建主摄像机(用于观察 CameraHelper)
const mainCamera = new THREE.PerspectiveCamera(75, window.innerWidth / window.innerHeight, 0.1, 20);
mainCamera.position.set(5, 5, 10);
mainCamera.lookAt(0, 0, 0);
scene.add(mainCamera);

//  创建需要被观察的摄像机
const targetCamera = new THREE.PerspectiveCamera(75, window.innerWidth / window.innerHeight, 0.1, 10);
targetCamera.position.set(2, 2, 5);
scene.add(targetCamera);

//  可视化 targetCamera
const cameraHelper = new THREE.CameraHelper(targetCamera);
scene.add(cameraHelper);

//  添加一个立方体方便参考
const cube = new THREE.Mesh(new THREE.BoxGeometry(1, 1, 1), new THREE.MeshBasicMaterial({ color: 0x00ff00 }));
scene.add(cube);

// 添加环境光,让场景更清晰
const light = new THREE.AmbientLight(0xffffff, 1);
scene.add(light);

//  动画循环
function animate() {
  requestAnimationFrame(animate);

  // 让被观察的相机(targetCamera)旋转,以观察 CameraHelper 变化
  targetCamera.position.x = Math.sin(Date.now() * 0.001) * 3;
  targetCamera.position.z = Math.cos(Date.now() * 0.001) * 3;
  targetCamera.lookAt(0, 0, 0);

  // 更新 CameraHelper
  cameraHelper.update();

  // 渲染场景,使用 mainCamera 作为主相机
  renderer.render(scene, mainCamera);
}
animate();
参数
CameraHelper( camera : Camera (opens in a new tab) )
- camera:被模拟的相机.