使用 vite 和 uniapp 搭建小程序 Three.js 环境
今天,这篇文章带大家一起使用 uniapp 和 Three.js 搭建小程序开发环境。
uniapp 搭建
uniapp 有一个官方的编辑器 HBuilderX,在官网就可以下载。这里我们不使用它来创建项目,使用 vite 来管理项目。
官方安装教程地址: https://zh.uniapp.dcloud.io/quickstart-cli.html (opens in a new tab)
这里我们使用 vue3 和 vite,所以用下面这条命令
npx degit dcloudio/uni-preset-vue#vite my-vue3-project等待一会,命令执行完成后,我们就完成了项目的创建了。
 之后进入项目,执行
npm install运行项目
npm run dev:mp-weixin通过这条命令,会生成一个 dist 目录,这个目录就是我们的小程序项目。

小程序工具
在开始小程序之前,大家需要先去创建小程序获取 appID。然后在下面的地址,下载小程序开发工具。
 https://mp.weixin.qq.com/wxamp/thirdtools/extend?token=821503770&lang=zh_CN (opens in a new tab)
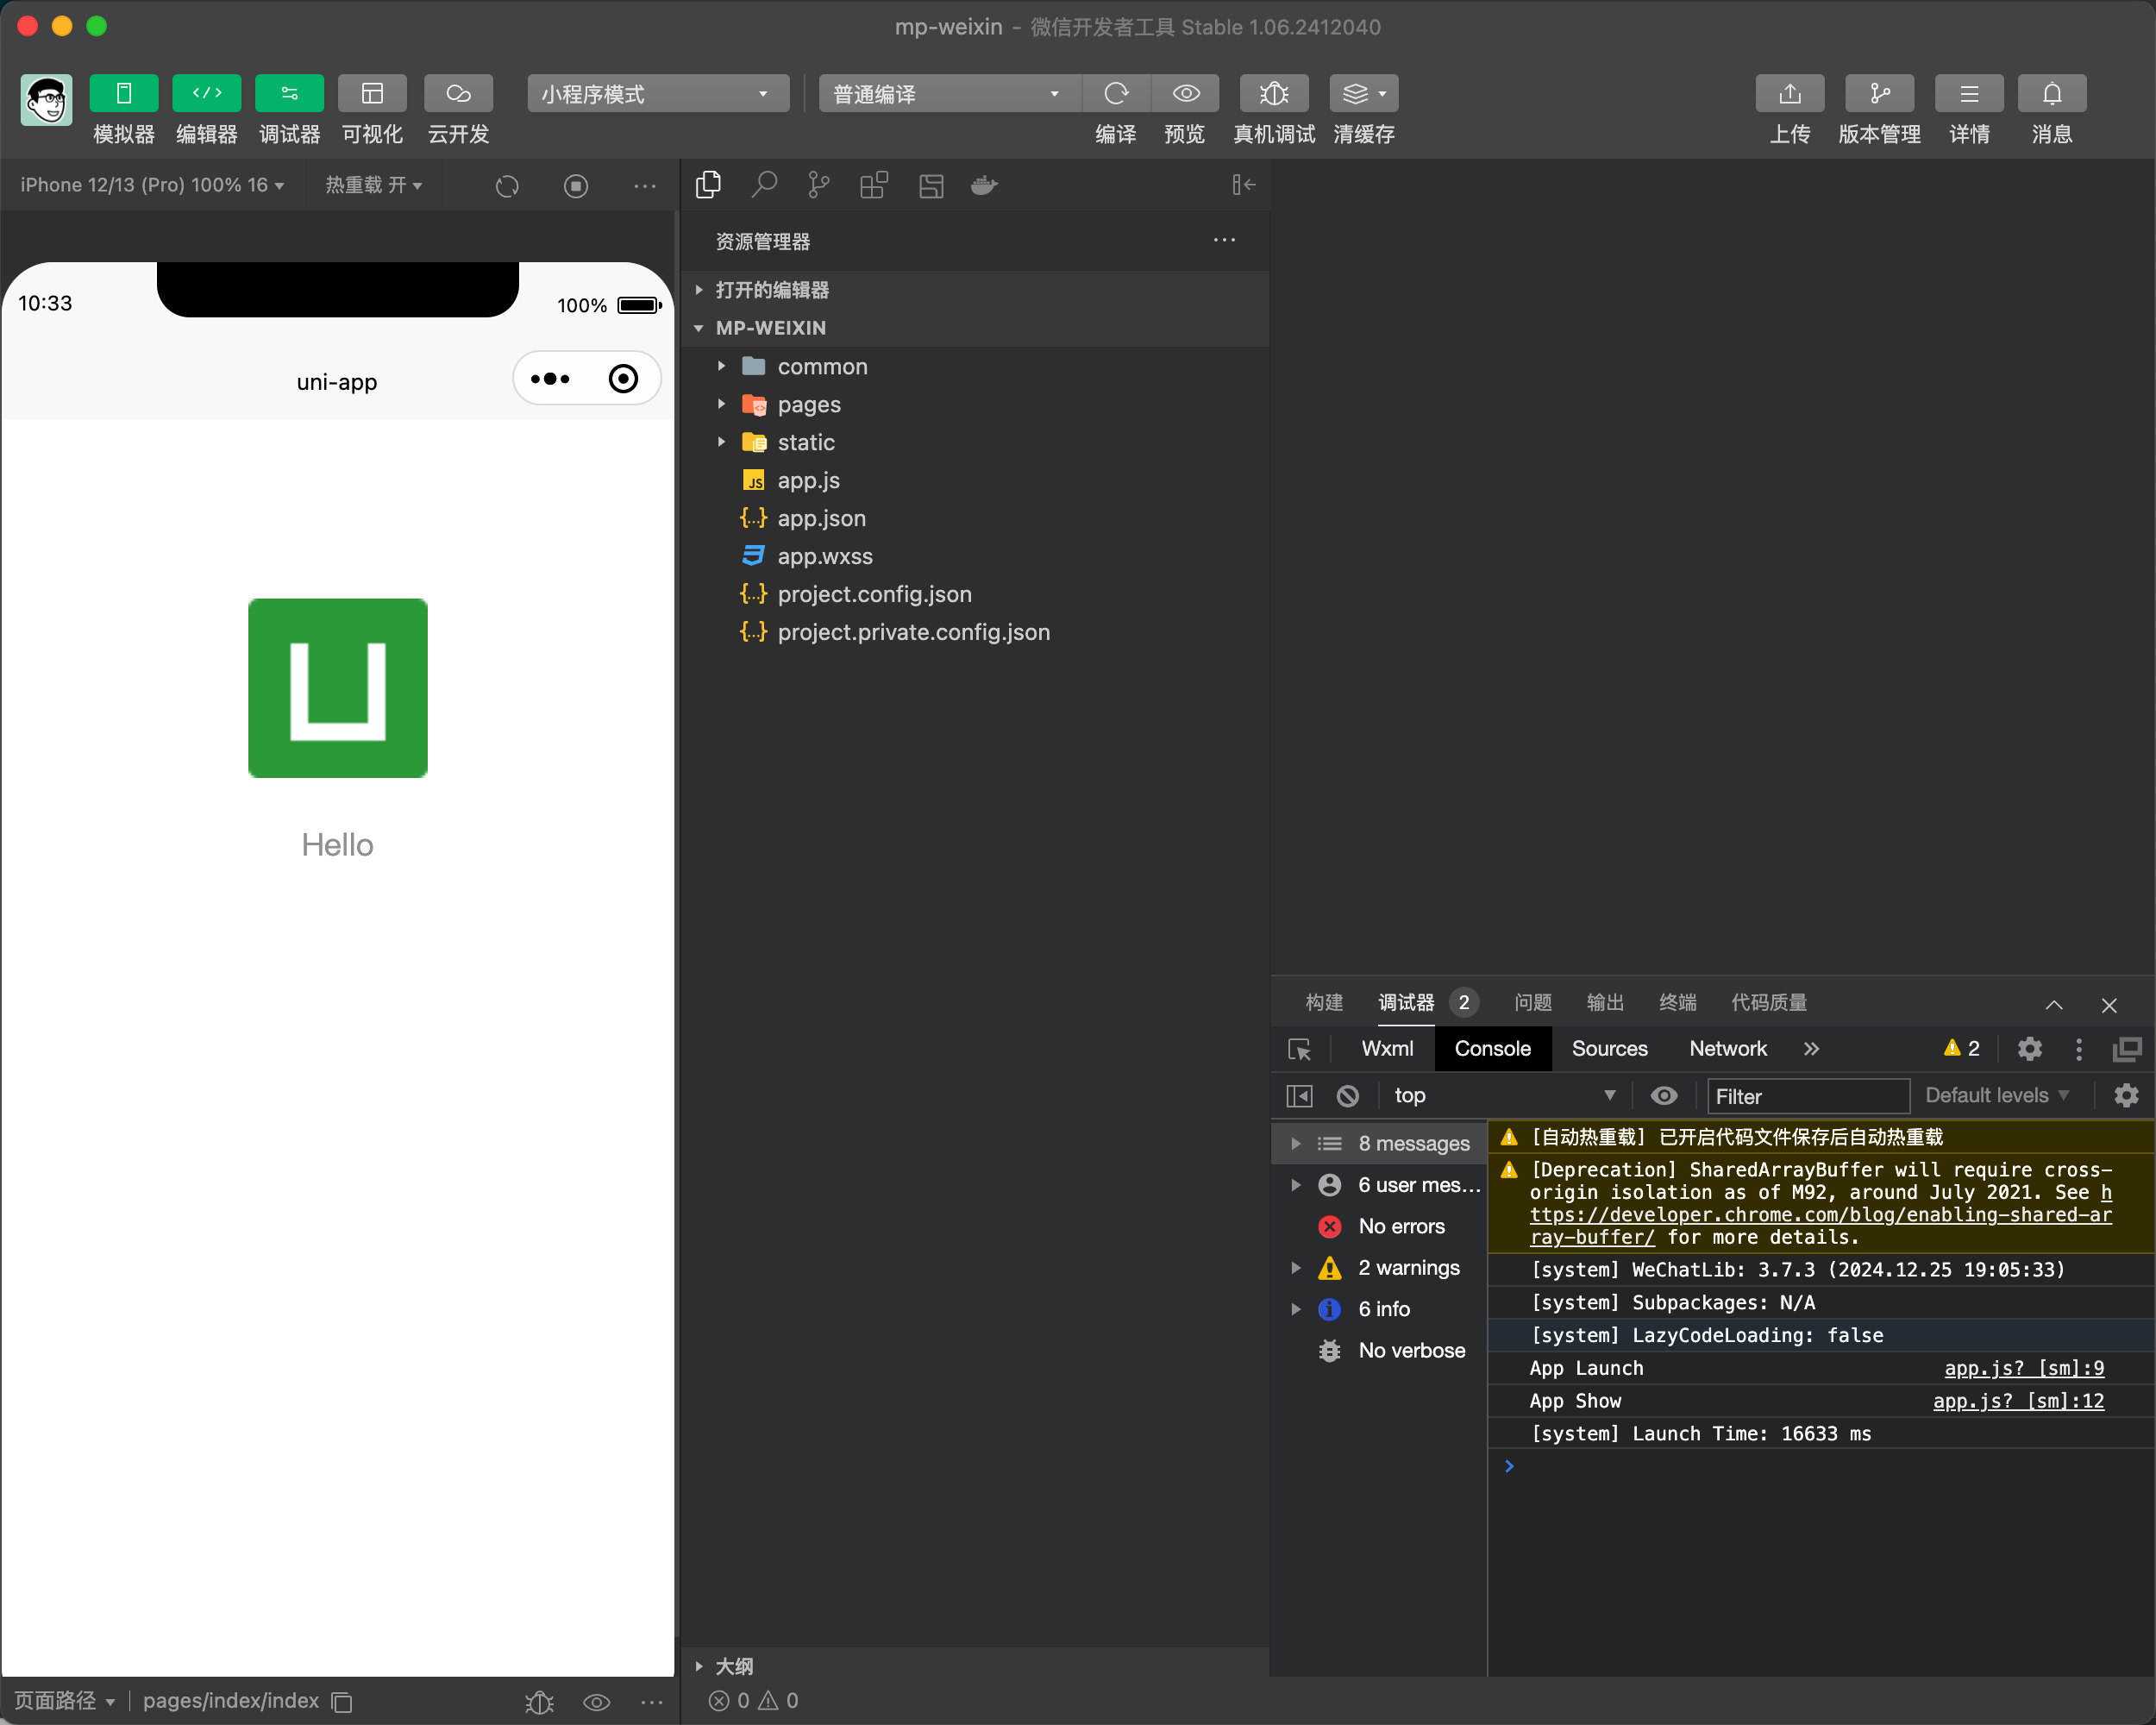
打开小程序开发工具,导入项目,选择 dist 目录,然后点击确定。
three 配置
这里,我们不能直接直接安装 three 依赖
通过一通调研,找到了https://three-x.cn/这个网站,这个网站提供了一个可以在小程序中使用的three.js库。 (opens in a new tab)
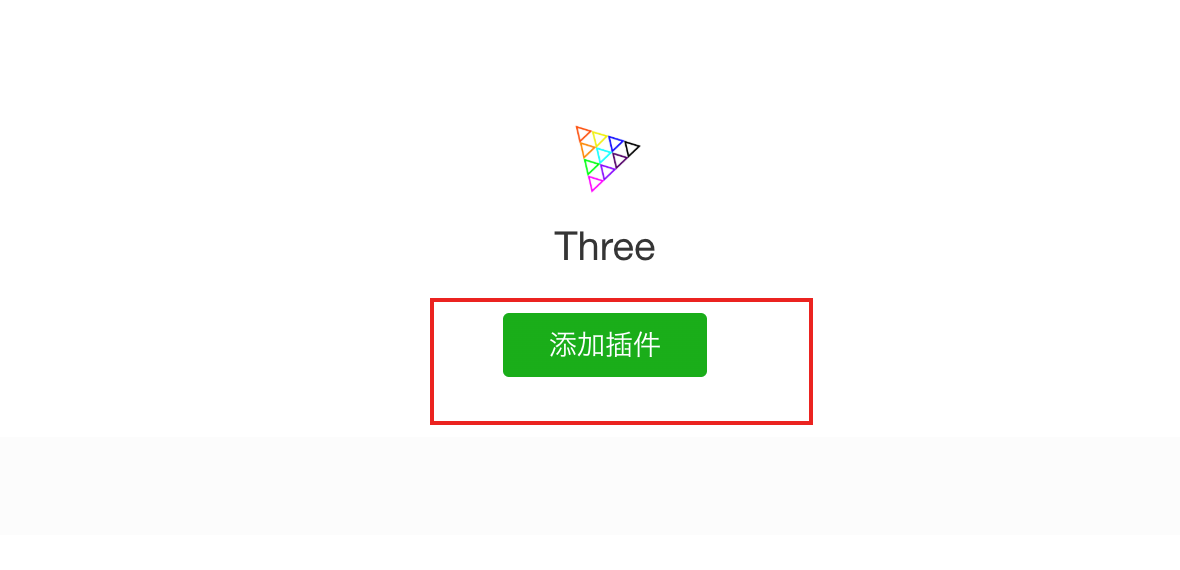
然后,我们需要通过小程序插件模式来引入这个库。 访问 https://mp.weixin.qq.com/wxopen/plugindevdoc?appid=wx5d6376b4fc730db9 (opens in a new tab) ,点击添加插件将这个插件添加到我们的小程序项目中。
接着打开,我们刚才创建的项目代码,进入 src 下的 minifest.json 文件
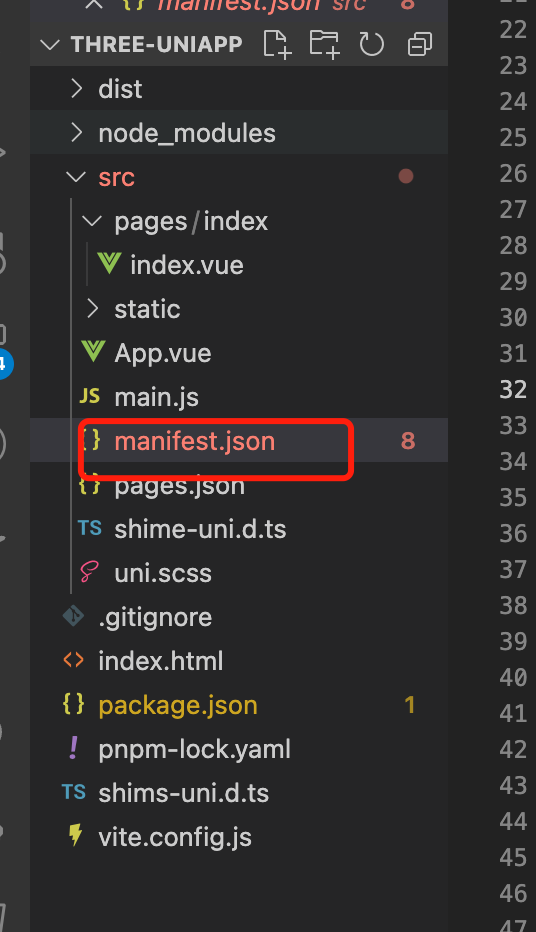
找到 mp-weixin,然后在里面添加插件配置。
{
  "mp-weixin": {
    "plugins": {
      "ThreeX": {
        "version": "3.2.1",
        "provider": "wx5d6376b4fc730db9",
        "export": "threex.js"
      }
    }
  }
}
在 src 下创建一个文件 threex.js,然后在里面引入 three-x 库。
module.exports = {
  getApp() {
    return getApp();
  },
  getCurrentPages() {
    return getCurrentPages();
  },
  wx_request() {
    return wx.request;
  },
  wx_downloadFile() {
    return wx.downloadFile;
  },
};
到此,我们关于 three.js 的配置就完成了。
代码
将下面的代码插入到 pages/index/index.vue 文件中,做一下测试。下面的代码有几个地方解释下。
- 引入插件库,通过 requirePlugin("ThreeX") 来引入插件库。
- 注意 THREE.DHTML,这个是插件库提供的一些全局变量,比如 document, window, Event, Event0, requestAnimationFrame, cancelAnimationFrame。因为小程序的环境和浏览器环境不一样,所以这些全局变量需要通过插件库提供的变量来使用。否则直接使用小程序的全局变量会报错。
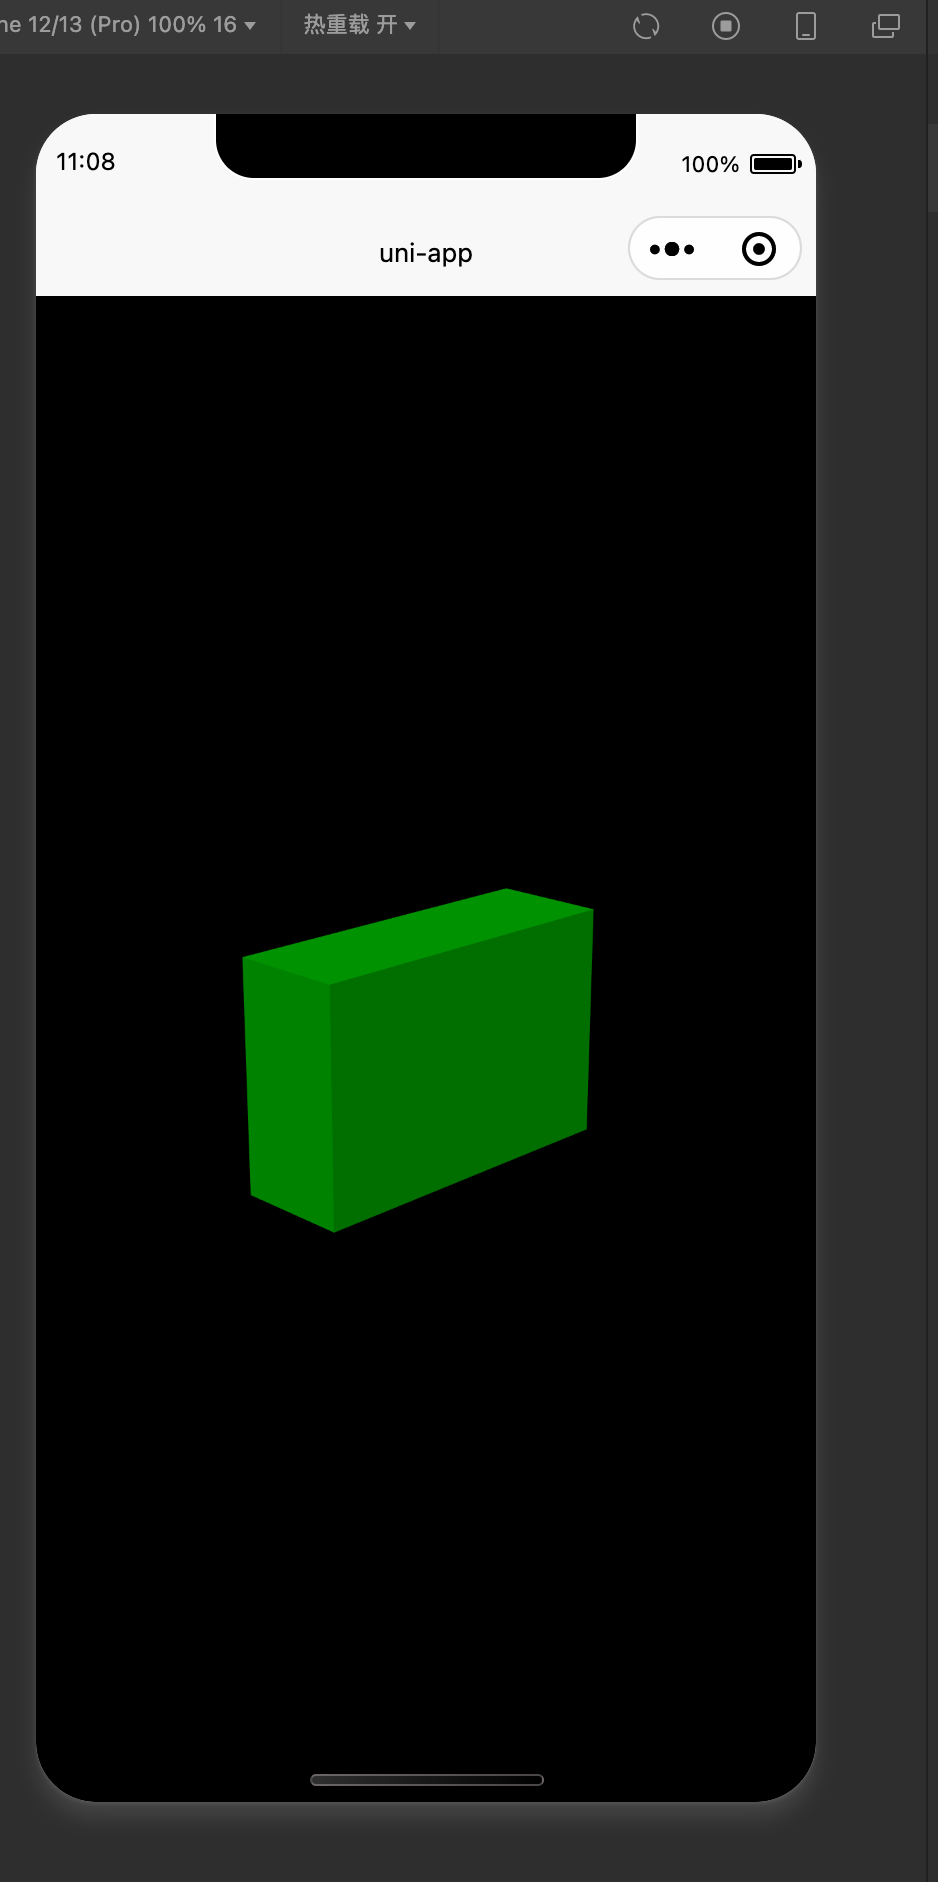
通过下面的代码,就可以在小程序中看到一个立方体。
<template>
  <view id="page">
    <canvas
      id="canvas_webgl2"
      type="webgl2"
      @touchstart="webgl_touch"
      @touchmove="webgl_touch"
      @touchend="webgl_touch"
      @touchcancel="webgl_touch"
    >
    </canvas>
  </view>
</template>

<script>
const THREE = requirePlugin("ThreeX");

const { document, window, Event, Event0, requestAnimationFrame, cancelAnimationFrame } = THREE.DHTML;
var requestId;

export default {
  data() {
    return {
      setting: {
        color: "#00ff00",
        width: 1,
        height: 2,
        depth: 3,
      },
    };
  },
  onUnload() {
    cancelAnimationFrame(requestId, this.canvas);
    this.worker && this.worker.terminate();
    this.renderer.forceContextLoss();
    this.renderer.context = null;
    this.renderer.domElement = null;
    this.renderer = null;
  },
  onLoad() {
    document.createElementAsync("canvas", "webgl2", this).then((canvas) => this.run(canvas).then());
  },

  methods: {
    webgl_touch(e) {
      const web_e = (window.platform == "devtools" ? Event : Event0).fix(e);
      this.canvas.dispatchEvent(web_e);
    },
    createMesh() {
      if (this.mesh) {
        this.scene.remove(this.mesh);
      }
      var material = new THREE.MeshLambertMaterial({
        color: this.setting.color,
      });
      var mesh = new THREE.Mesh(
        new THREE.BoxGeometry(this.setting.width, this.setting.height, this.setting.depth),
        material
      );

      this.scene.add(mesh);
      this.mesh = mesh;
    },
    async run(canvas) {
      var that = this;
      this.canvas = canvas;
      var renderer = (this.renderer = new THREE.WebGLRenderer({
        antialias: true,
        canvas,
      }));
      renderer.setPixelRatio(window.devicePixelRatio);
      renderer.setSize(window.innerWidth, window.innerHeight);
      renderer.outputEncoding = THREE.sRGBEncoding;

      var scene = (this.scene = new THREE.Scene());
      scene.background = "#888888";
      var camera = new THREE.PerspectiveCamera(45, window.innerWidth / window.innerHeight, 1, 100);
      camera.position.set(10, 5, 10);
      camera.lookAt(scene.position);

      /////////////////////////////////////////
      const light0 = new THREE.AmbientLight(0xffffff, 0.5);
      scene.add(light0);
      //
      const light1 = new THREE.DirectionalLight(0xffffff, 0.5);
      light1.position.set(-5, 10, 5);
      scene.add(light1);
      that.createMesh();

      function animate() {
        requestAnimationFrame(() => {
          animate();
        });
        renderer.render(scene, camera);
      }
      animate();
    },
  },
};
</script>

<style>
canvas {
  width: 100vw;
  height: 100vh;
}
</style>
代码
github
https://github.com/calmound/threejs-demo/tree/main/three-uniapp (opens in a new tab)
gitee
https://gitee.com/calmound/threejs-demo/tree/main/three-uniapp (opens in a new tab)